Whats Up Nails - Pure Color #7 Watermarble Tool
Whats Up Nails - Pure Color #7 Watermarble Tool
Regular price
$16.19
Regular price
Sale price
$16.19
Unit price
per
Shipping calculated at checkout.
Couldn't load pickup availability
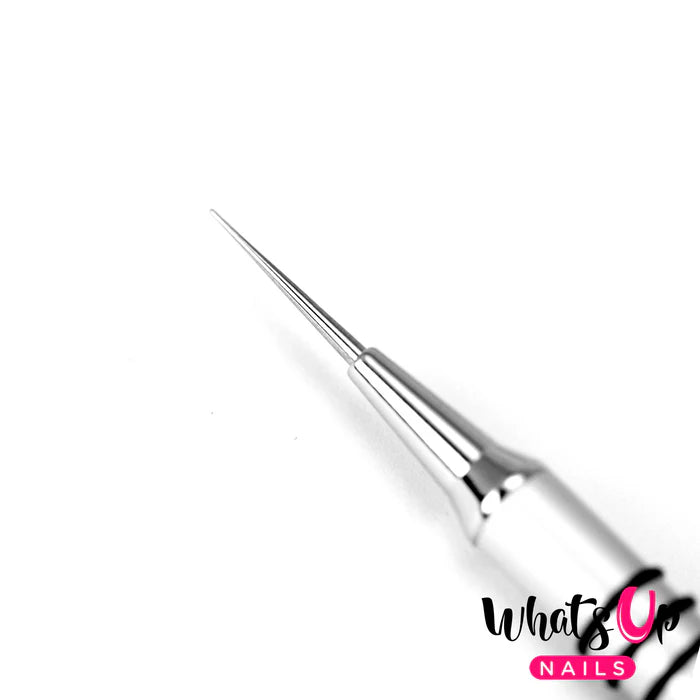
Water marble can be difficult without the right tool. Built specifically for water marbling, the Pure Color #7 is built upon the same aluminum body as the Pure Color #10 which means it's easy to hold because of its rubber grips and excellent weight balance. You can easily cut polish with the point tip and, being made of stainless steel, it is easily cleaned between uses for exceptionally accurate designs.
Tool Length: 18mm
How to use:
- Use filtered room temperature water to marble. Use a smaller cup for less hassle. Have your nails prepped with a white base coat (this will make your marbled design pop more) and apply tape around your cuticles to make clean up easier. Be sure there is no fans or air vents blowing as it will make the polish dry quicker.
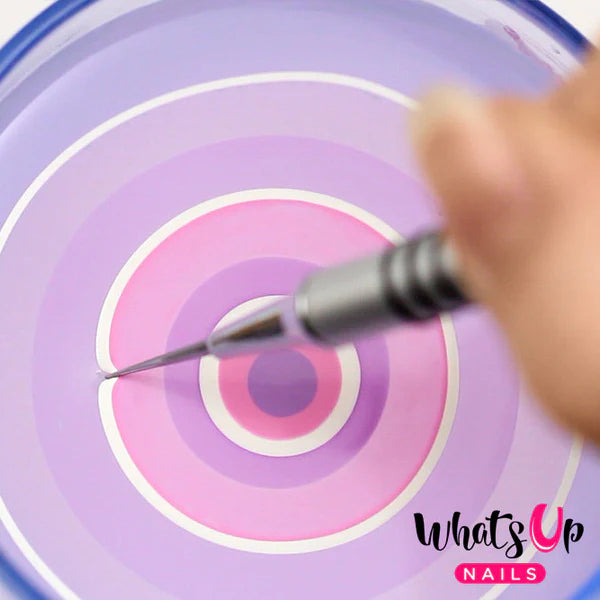
- Using thinner, slower drying polishes will work the best. Pick your polishes and have them open and ready. Drop a big bead of your first polish into the middle of the cup of water and let it spread. Quickly drop a bead of your second polish into the middle of the first, and let it spread. Do not wait too long in between spreads, but also do not move too quickly as to overlap the colours as it will create a muddle of these colours on the nail. Continue until the polish is not spreading and a full "Bull's Eye" is complete.
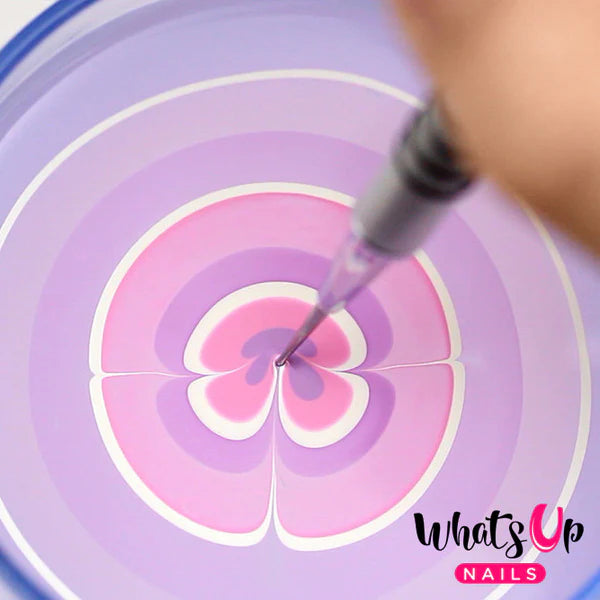
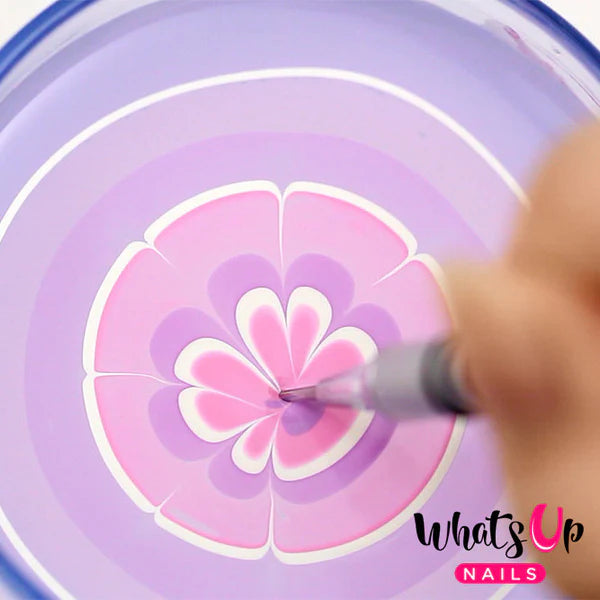
- Start from 2-3 polish rings in (these outer rings will be too dry to create a design) and create your design. Start from the middle and drag your tool gently through the polish and create what you would like. At the end of each design drag dip the tool down farther into the water and pull it straight up for crisper strokes. Also, wipe the end of your tool off each time before making the next stroke in your design. Work quickly and carefully until you have a design dragged.
- Figure out which part of the design you would like on your nail. Holding your nail at about 45 degrees, dip it into the water (over the design) and keep your nail under the water. Gently blow on the excess polish in the cup to get it to dry, then use a q-tip or tool to rid the cup of the excess. Once cleared, remove your finger slowly at the same angle that it entered.
- Now you've got your design on your nails, it is time to clean up! Remove the tape, and clean up excess polish around the cuticles using brush dipped into acetone or nail polish remover, apply a topcoat and enjoy!


